Van Floor Insulation: The Day I Hired a Stranger Off a Layby

The visit to the electrician did not go well. In fact it went worse than I thought it could, which is saying something, because I'd set the bar somewhere around "mild disaster" before I even got there.
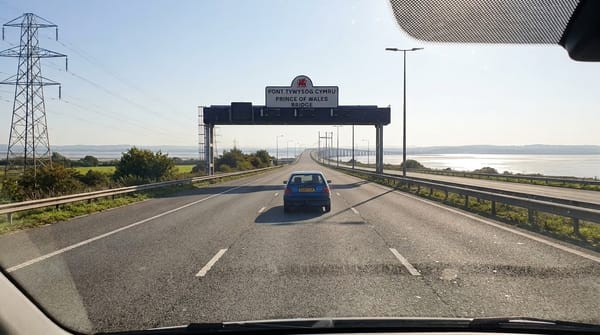
So I hadn't recorded anything for about a week. Nothing to update you with, no floor going down, no progress — just a van sitting there judging me and a to-do list that had started breeding when I wasn't looking. Then, on a completely unrelated night, doing a bit of reconnaissance on a potential overnight parking spot, I met a man called Simon. And Simon changed everything.
This is the one where the floor finally starts going in. Slowly. Very slowly. On a budget and a half.
The quick version, if you're only here for the how-to:
- Prep the entrance edge properly — it's the hardest-working part of the whole floor. Rust treatment, then Hammerite, then adhesive.
- Get your first batten dead straight — every other edge in the van keys off it. Wonky here means wonky forever.
- Keep the factory shims if your van has them. They level the floor and stop the squeaking.
- Do your wheel arches while you've got the floor open. Dodo Mat (closed-cell foam) kills road noise and heat transfer.
- "Floor in a day" is a myth. Budget for two. Possibly your entire will to live.
First, the van decided to have opinions
I was on my way to go and meet Simon properly — beautiful day, feeling almost optimistic — when the van started knocking. Then the dash lit up: coolant check level. Which is a special kind of insult, because I'd replaced the coolant a couple of weeks earlier.
Then, because one warning is for amateurs, it threw up Service A overdue. Marvellous. One of those days where the van reminds you it was a working gas-network van in a past life and it hasn't forgotten how to be difficult.
I'd also just moved a load of stuff into a lockup — partly to clear the house, mostly to clear my head. There's a proper stack of gear that needs to go on Etsy. But that's a job for a future, less knackered version of me.
Meet Simon, full-time van lifer since November
Here's how it actually happened. I was scoping out a little stop-off for the night, doing my usual sniff around, when I clocked another van. Chimney stack on the roof. Now, a chimney stack means one thing: that's a stealth camper, and somebody lives in it.
Long story very short — we got chatting, and it turns out the man in the van is Simon. He's been living in his full time since November, and the woodwork he'd done in there was absolutely spot on.
I lobbed a few random questions at him about electrics, the way you do when you're quietly checking whether someone actually knows their stuff or is just confident. He passed. He also mentioned he could do with earning a bit of money.
So I made him an offer. I can't do too many hours in a day due to my ill health — that's just the reality of it — and I need help getting this thing built. Was he interested?
He jumped at it. So on floor day, if you never hear from me again, someone please post my last known location in the comments and wish me luck.
Prepping the entrance: the bit everyone rushes
Van clean, 10:56am, floor panels laid out loose. Seeing it all just sitting there felt a bit sad, honestly — but it also marked the start of the van actually going somewhere.
A fair bit of fussiness got deployed here, and for good reason. The rear entrance is the hardest-working edge of the entire van. All the footfall goes over it. Rain gets in when the doors are open. If any part of the floor is going to rot, it's this bit.
So the prep went like this:
- Clean the metal back properly — no shortcuts, no dust.
- Treat it with Krust rust converter to kill anything already lurking.
- Seal it with Hammerite so it can cope with weather and boots for years.
- Only then do you go anywhere near adhesive.
Skip that and you're just laying a nice new floor on top of a slow-motion problem.
Why the first batten has to be dead straight
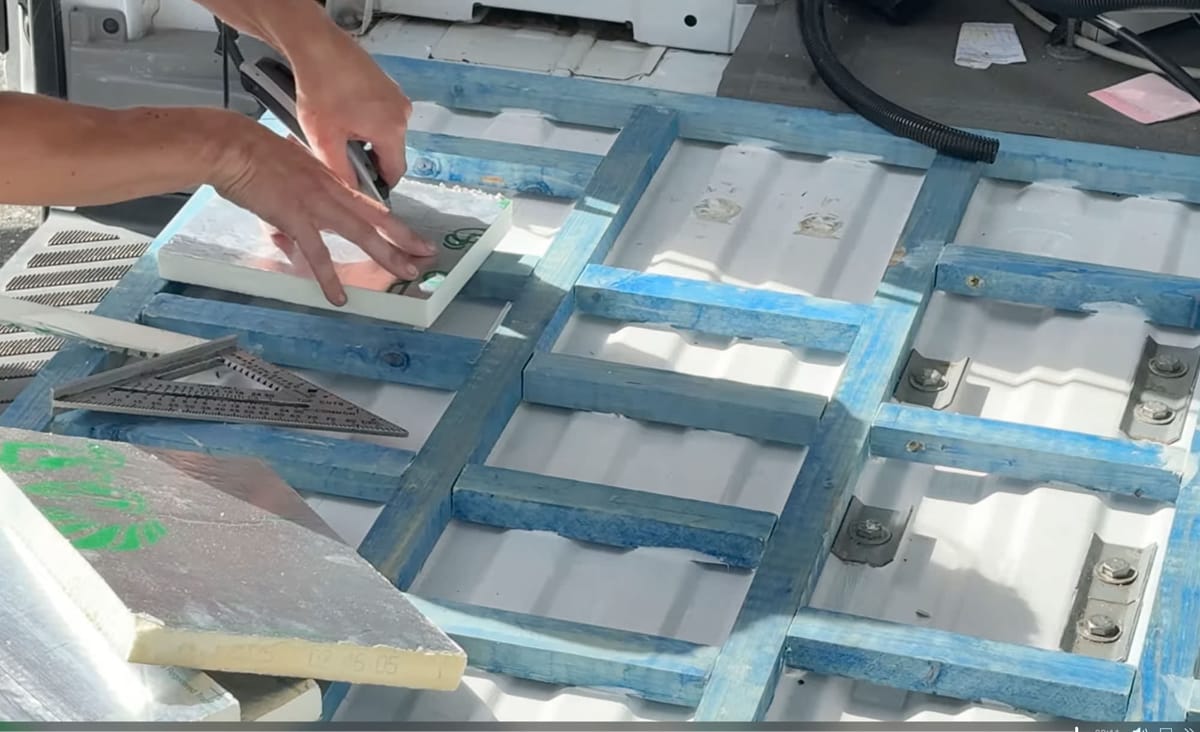
The front batten got lined up as straight as humanly possible, because this is the reference edge everything else keys off.
Get it wonky and that wonkiness transfers all the way down the van. Every straight edge after it inherits the mistake and multiplies it. By the time you reach the back you're building a floor that looks like it was designed by someone having a bad dream.
One small win: those black shims dotted around the van. I've no idea if they were factory or something a previous owner added, but I saved them instead of binning them with my usual reckless abandonment. Turns out they're brilliant for levelling the floor and stopping it squeaking. Past me, for once, did present me a favour.
The floor goes down (slowly, then more slowly)
After a liberal splattering of adhesive — which, combined with Simon's genuinely tea-encrusted cup, may well have created a new form of life — the first batten went down.
Then it was wait for the rust paint to dry, more adhesive, next section. Slow and steady. Very slow. This was the moment I quietly accepted the floor was not getting done in the mythical van-builder "floor in a day" style you see on YouTube.
There was also an oopsy. Cutting the beam that runs across the front of the van completely knackered the blade. But the main beam went down and, credit where it's due, looked rather good.
We started at 10am. By 5pm we'd got roughly half the floor almost done — and I do mean almost. That was enough to justify a liquid celebration, make a note to buy some diamond-tool blades, and go and get some rest before picking it all up the next morning.
Oh — and I forgot the milk. Packed the kettle, forgot the milk. On a day like that, it's the milk that nearly tips you over the edge.
Sunday, no power, and the AllPowers earning its keep
Sunday morning at the yard: no mains power. So while Simon cracked on, I tested my AllPowers battery packs to see if they'd actually run the tools we needed.
They did. With gusto to spare. Which is exactly what you want to know before you're relying on them off-grid.
Shop via A Van Life Thing
If you buy anything on Amazon after clicking our link, we earn a small commission at no extra cost to you. It's a dead easy way to support the site while you're shopping for kit anyway.
Shop on AmazonThe wheel arch debate (and why we insulated ours)
Before any more woodwork could go in, the wheel arches needed sound deadening. Simon did possibly the most thorough wheel arch I've ever seen — a proper job.
Now, this bit's a little controversial. Some people say you don't need to touch a wheel arch, because the ridges in it already stiffen the panel. Fair enough. But we went the other way and insulated it anyway, for two reasons:
- It reduces road noise — and road noise is the thing that quietly wears you down on a long drive.
- It helps with heat transfer — a bare arch is a cold bridge straight into your living space.
We did a quick knock test. The deadened arch gave almost nothing back. The naked one rang like a drum. If you want a cheap, obvious upgrade, grab some Dodo Mat and do your arches.
By around 4pm we were running mastic and literally trying to eke the last out of the can. Because this, as I keep saying, is a van build on a budget and a half.
Where we're at, the end of day 1
Half a floor down, a van that still likes to throw the odd warning light, and — unexpectedly — a second pair of hands who actually knows what he's doing. Meeting Simon in a layby might be the best thing that's happened to this build so far.
Next job: finish the other half without knackering any more blades.
FAQs
Do I really need to insulate the floor of my van?
Yes, if you plan to live in it in anything other than high summer. The floor is a massive cold bridge straight up from the road, and heat drops. Battens with insulation between them break that bridge and give you a level base to build on. Skip it and you'll feel the cold coming up through your feet no matter how good your walls are.
Should I sound deaden the wheel arches or not?
It's genuinely debated. The ridges in a wheel arch already add stiffness, so some builders leave them bare. But Dodo Mat (closed-cell foam) on the arches noticeably cuts road noise and reduces heat transfer, which matters when the arch is sitting right inside your living space. For the cost of a bit of foam, I'd do it every time.
How long does it actually take to fit a van floor?
Ignore the "floor in a day" videos. If you're prepping the metal properly — rust treatment, sealing, adhesive that needs drying time — realistically budget two full days, more if you're working solo or off battery power. Rushing the prep on the entrance edge is how you end up with rot in a couple of years.
Why treat the rear entrance differently from the rest of the floor?
Because it's the hardest-working part of the whole build. Every step in and out goes over it, and rain gets in whenever the doors are open. Rust converter followed by Hammerite gives it a fighting chance against constant footfall and weather. The rest of the floor never has it that rough.