How to Seal Holes and Prevent Rust in Your Mercedes Sprinter Van Conversion | Step-by-Step Guide
Finally the floor is up in my Mercedes Sprinter Conversion and that leads to the inevitable question, how best to fill the holes left over from ripping up the floor.
Pardon the phrasing here but there's many types of holes that need filling. First up are the ones left over by the self tapping screws. These are typically around 16mm - 50 mm but thankfully the same diameter. No matter how deep the hole with width is the same which is M4.8 or 4.8mm.
Before moving forward, it’s crucial to address the details of rust treatment. Any signs of rust must be treated immediately to prevent the problem from worsening. This is especially important for Mercedes Sprinter vans, as their longevity depends on proper maintenance
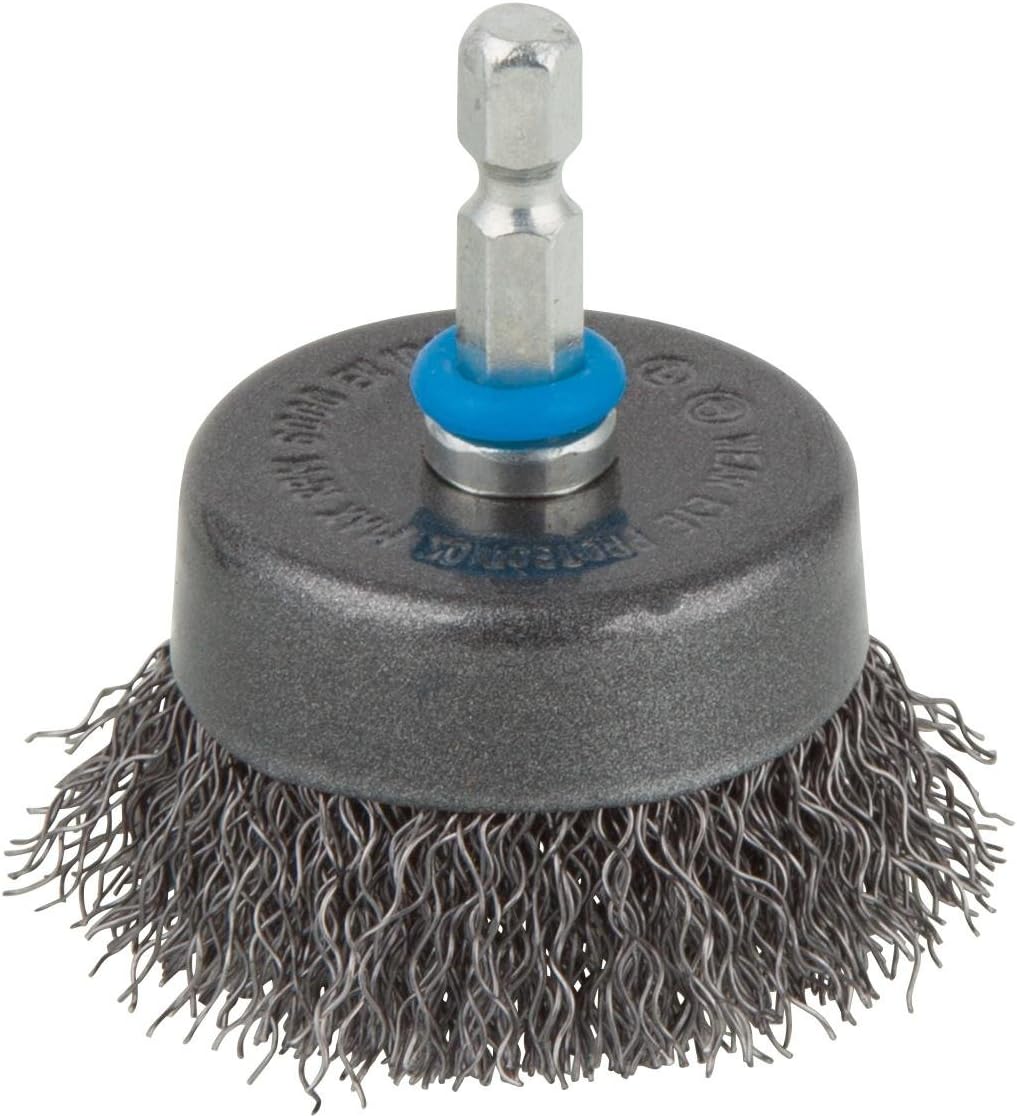
Steeltip Wire brush
If you have a drill, the most effective tool for rust removal is a Steel Wire Cup Brush (available on Amazon). You don’t need to apply much pressure—simply let the weight of the drill and brush do the work. Move the brush in a circular motion around the hole, focusing on removing the rust (the brown residue) from the exposed metal. The goal isn’t to make the surface perfectly shiny; just remove the rust without taking off too much material.
Rust Treatment.
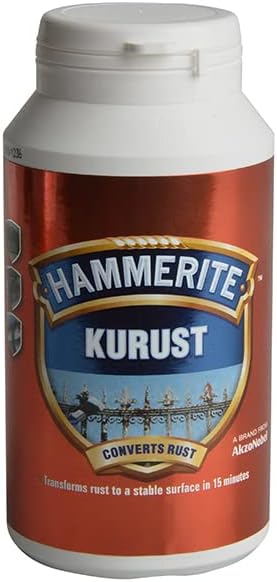
Once the exposed area is nice and clean, the next step is to prevent further rusting. Metal meets air + water is going to equal rust. Hammerite - Kurust is the stuff you need.
Of course you'll need some brushes to go with this and if you can try and find the u bend type as it's always good to to the underside of any holes if you can (more about going underneath).
When I first applied the rust converter, it looked like thin, watery liquid with no adhesive properties. I initially thought it was a defective batch, but this is how it’s supposed to be. Apply it generously to any exposed areas, and the magic begins—the liquid turns from white to blue, then black, indicating it’s working. In normal temperatures (unlike the freezing UK weather at the time of writing), it takes about 15 minutes to react and 3 hours to dry before applying a second coat. Don’t skip this step—once the floor is down, you won’t want to lift it again..
Even more rust prevention.
Now that we’ve covered cleaning and treating rust, let’s talk about prevention. You might wonder: what’s the difference between Kurust and Hammerite Metal Oxide Paint? Kurust works by transforming rust into a hard, stable black surface, acting like a primer or undercoat in a painting process. This prepares the metal for further protection.
Kurust transforms an active surface into a hard, stable black surface (simplified). It’s similar to general painting, where you use a primer or undercoat.
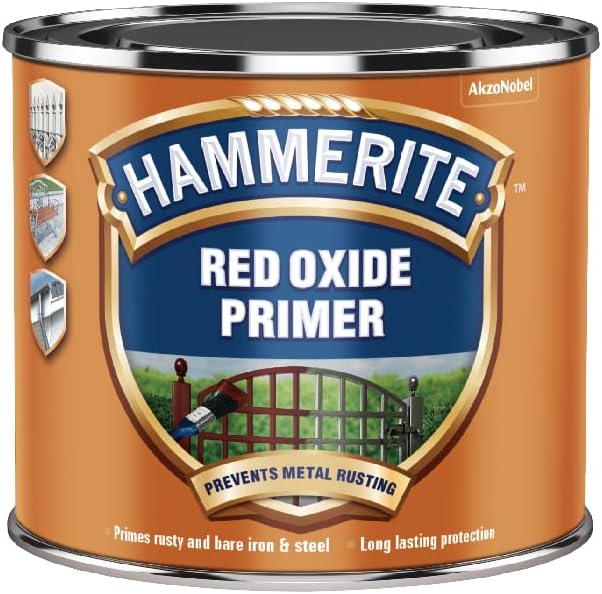
This is where Hammerite Primer - Red Oxide Metal Primer is the next step. Red oxide metal primer is a rust-resistant topcoat paint and once applied prevents rust from reoccurring. The topcoat takes 6 hours to fully harden, so don't skimp on the 2nd layer.
Under the van.
Let’s be honest—working on a cold concrete floor is no one’s idea of fun, but putting in the extra effort now will save you from rust worries in the future. Once you’ve completed the steps above, treating the underside of your van with Wax Oil Rustproofing Aerosol is the final touch. It’s the ‘chef’s kiss’ of rust prevention, ensuring water and rust won’t seep through
Sealing holes in the floor of your van
Preparation is key, and if done properly, the steps above will likely take most of a day—not including the recommended second coats. Now comes the ‘fun’ part: sealing those holes.
For the smaller holes caused by self tapping screws and up to 5mm in width
For larger holes, there are many suggestions, such as using spray foam, cutting off the excess, and calling it a day. However, I wouldn’t recommend this method—spray foam can wear out over time and is porous, making it less effective for long-term sealing.
Rubber bungs are also on the suggested list and your holes aren't deformed a good way to go providing you can find the right size.
The best solution is to use a high-quality epoxy putty. Steel-reinforced epoxy putty offers numerous benefits, including resistance to water, oil, and chemicals. Once hardened, it can be sanded to match the van’s surface level and painted for a seamless finish. Plus, it’s durable enough to handle the vibrations of van life. Products like SteelStik are the closest you can get to welding without actually welding.
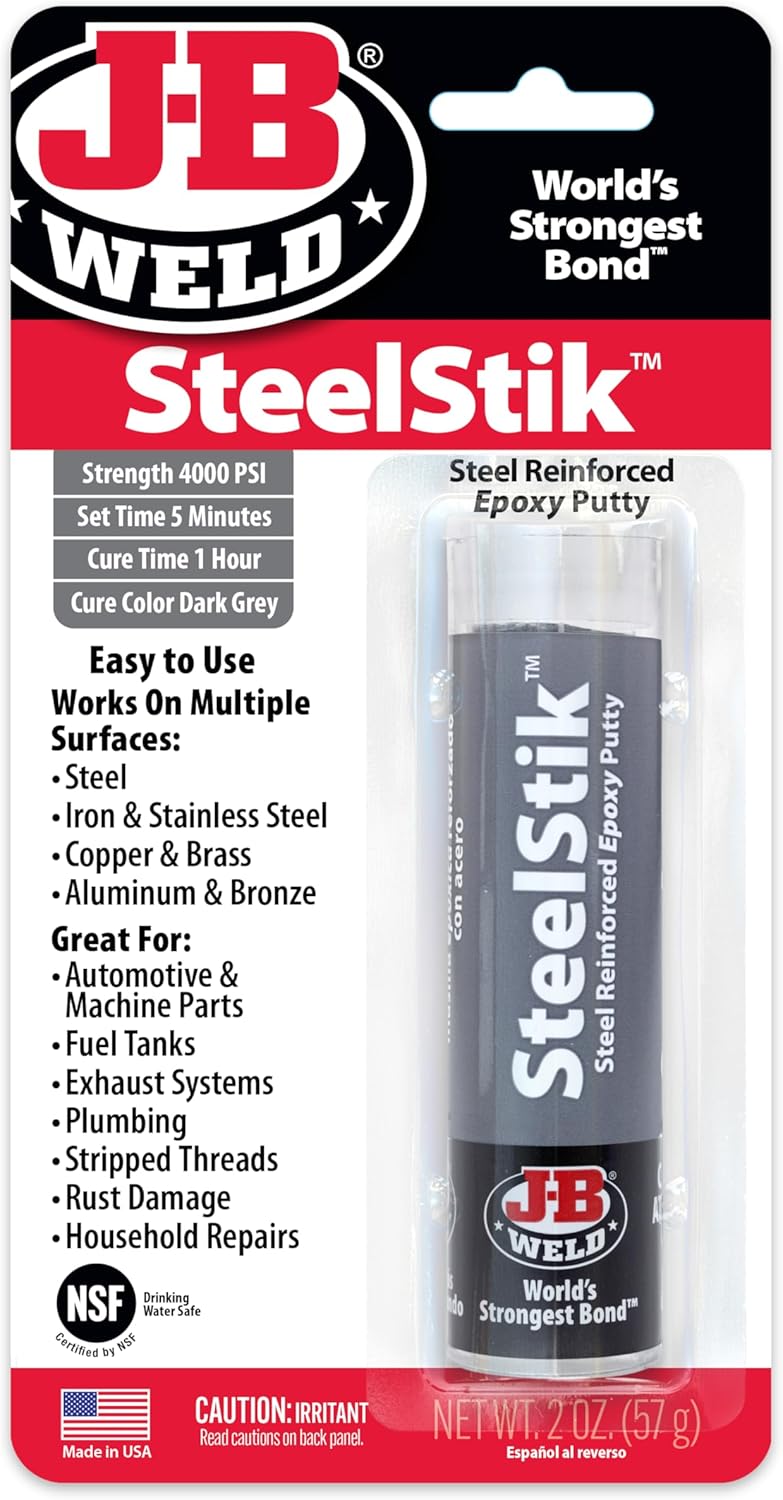
A steel reinforced epoxy putty has many benefits including being resistant to water, oil, and chemicals. Also once hardened, it can be sanded to match the surface level of the van and painted over for a seamless finish. Finally putty like this handles van vibrations. SteelStik is the closest you can get to welding without welding.
To use please wear gloves!. Cut off the amount of putty you need and knead it by hand until it turns a uniform color (usually gray). Press the putty firmly into the hole, ensuring it fills the gap completely. Smooth the surface with your fingers or a tool, and let it cure for about an hour. Once hardened, the repair is durable, waterproof, and ready to be sanded, painted, or left as-is.
Final Workflow for Your Van Floor:
- Paint the area with rust-resistant paint, such as Hammerite, for extra durability and a clean finish.
- Grind back loose rust to expose bare metal.
- Apply a rust converter (like Kurust) to neutralize any remaining rust.
- (Optional) Prime the area with a metal primer for added protection.
- Fill and seal the hole using SteelStik epoxy putty.
- Once cured, sand the surface smooth.
- Spray with paint to make it look nice, even if you won't see it.
This isn’t necessarily the best or only way to seal holes in your van floor—it’s simply the method I’ve chosen after countless hours of research and YouTube tutorials. If you’re curious to see how my Mercedes Sprinter build turns out, you can follow my progress on my Mercedes Sprinter Van Build YouTube playlist!